

Donate Now
and become
Forum Supporter.

Many perks!
<...more...>


|

02-13-2022, 12:55 AM
|
 |
Member
|
|
Join Date: Mar 2021
Location: NYC, NY
Posts: 55
|
|

|

02-13-2022, 02:32 AM
|
|
Senior Member
|
|
Join Date: Mar 2017
Location: Central Texas
Posts: 226
|
|

Quote:
Originally Posted by nemesis

Thank you for sharing. This looks AWESOME. I cannot wait to see the finished product. I have a Beta in a fish bowl with some bamboo. Is this considered aqua scraping? Lol.
|
I know this isn't the point of the thread, but betta fish need at least a 5-gallon tank, filtered and heated, to do well at all. They can survive in a bowl because they can breathe air from the surface when the water quality is poor, but they need heated water to keep their immune system healthy, and they need space to move. I would very strongly suggest moving the betta to a new setup, unless it's quite a large bowl that's already heated. Be sure to either cycle the new tank first, or move substrate and decor over from the bowl.
The terrarium looks really cool. You might like to check out Dendroboard- they talk about dart frog setups, and there's a lot of overlap between that and orchid terrariums.
I'd suggest trying to find a Lepanthopsis astrophora. Tarzane Group sells them sometimes, and I believe they have some now. It's a wonderful micro-miniature orchid species that produces sprays of tiny, gorgeous purple stars when it blooms, and is quite easy to grow; just keep the roots gently moist, and provide it with decent humidity.
Haraella odorata is another easy micro-mini, shaped a bit like a tiny phal. Mount it, let it dry out slightly between waterings without ever going all the way dry, and enjoy its weird-scented flowers when it blooms. Depending on who you ask (and perhaps on the individual plant), they either smell like citrus, or like citrus-scented window cleaner.

|
|
Post Thanks / Like - 2 Likes
|
|
|
|
|

02-13-2022, 09:24 AM
|
 |
Member
|
|
Join Date: Mar 2021
Location: NYC, NY
Posts: 55
|
|
I actually have the same project posted on Dendroboard as well, and it is really interesting to see the different topics and responses the two communities give haha. I definitely got some good tips on how to setup and keep the vampire crabs that I eventually want from people over there.
Your plant suggestions are really cool! I’ll see what I can do (orchid expenses do add up quickly after all…). My main way of getting plants right now is an Ecuagenera nursery about 40 min from my home whenever I fly back to visit Florida, which essentially eliminates shipping costs. I also recently joined the Manhattan Orchid Society as well. Excited to meet other growers and maybe buy and trade some nice plants too!
|
|
Post Thanks / Like - 1 Likes
|
|
|
|
|

03-16-2022, 01:22 AM
|
 |
Member
|
|
Join Date: Mar 2021
Location: NYC, NY
Posts: 55
|
|
Been a little while because of my recovery from wrist surgery, but I managed to finish most of the prototyping for the control system I made. You can watch a short demo of it here. |

03-16-2022, 05:54 PM
|
 |
Senior Member
|
|
Join Date: Nov 2021
Zone: 9a
Location: East Texas
Posts: 178
|
|
Just to let you know, I moved the Beta into a 10 gallon with lights, a heater, filter and bubbler. It is totally aquascaped by my son. Thank you for telling me how to take care of my little fish friend
__________________
"Cry Havoc! and let slip the dogs of war!"
Shakespeare
Julius Caesar
|
|
Post Thanks / Like - 1 Likes
|
|
|
|
|

03-22-2022, 04:59 PM
|
 |
Member
|
|
Join Date: Mar 2021
Location: NYC, NY
Posts: 55
|
|

Alright time for an update:
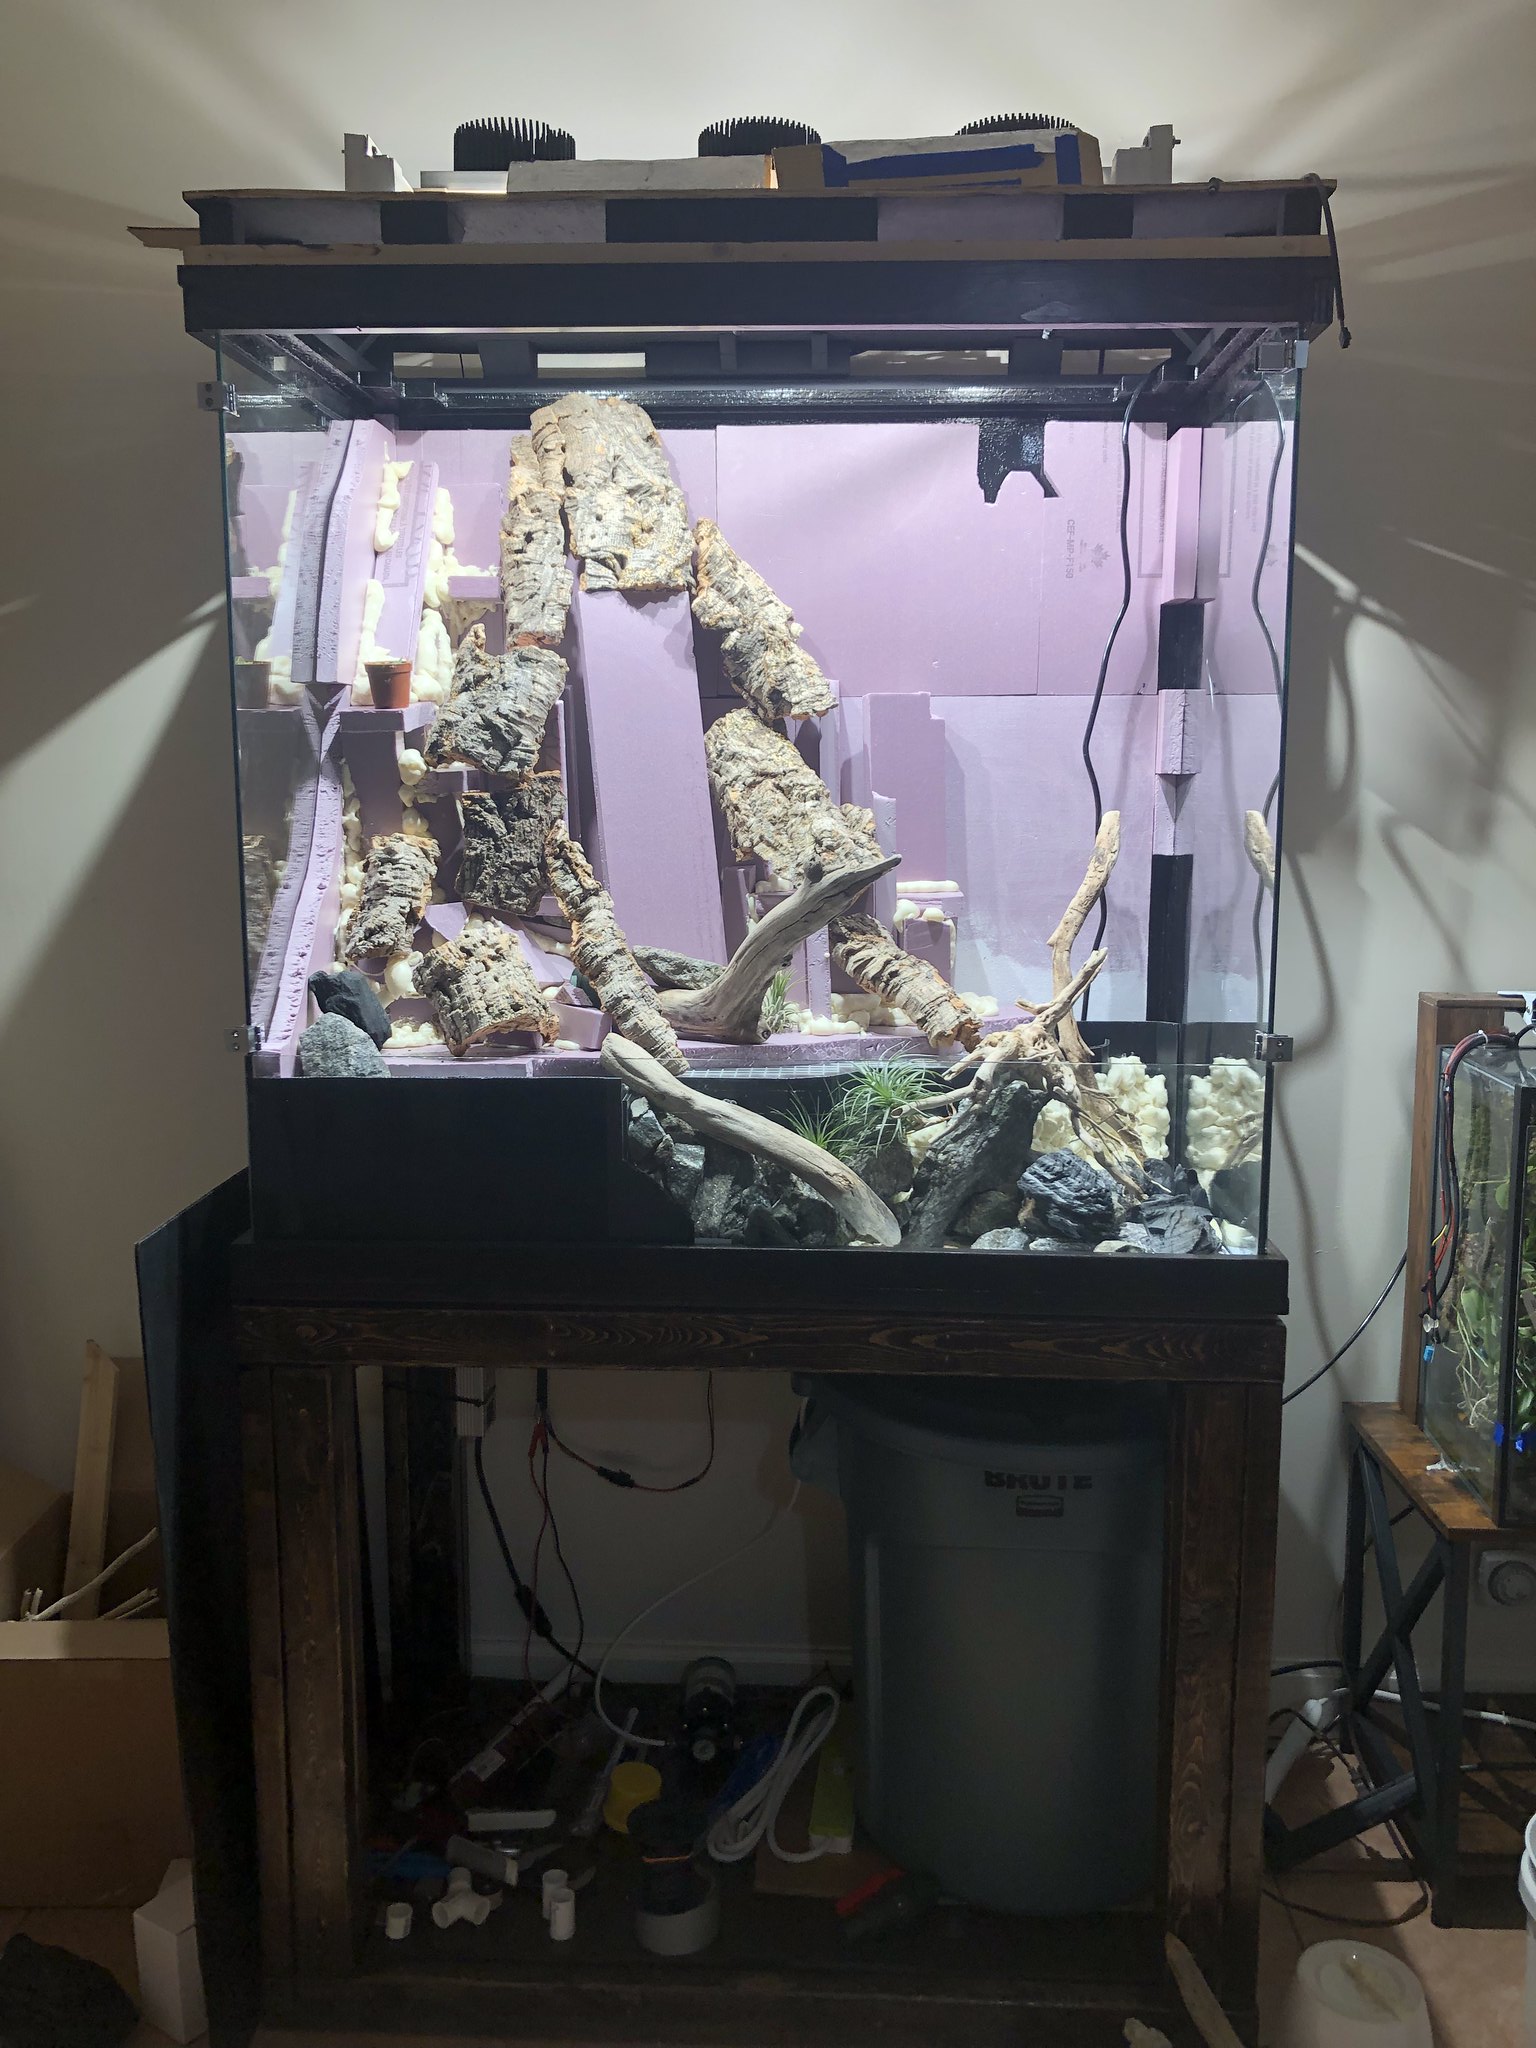
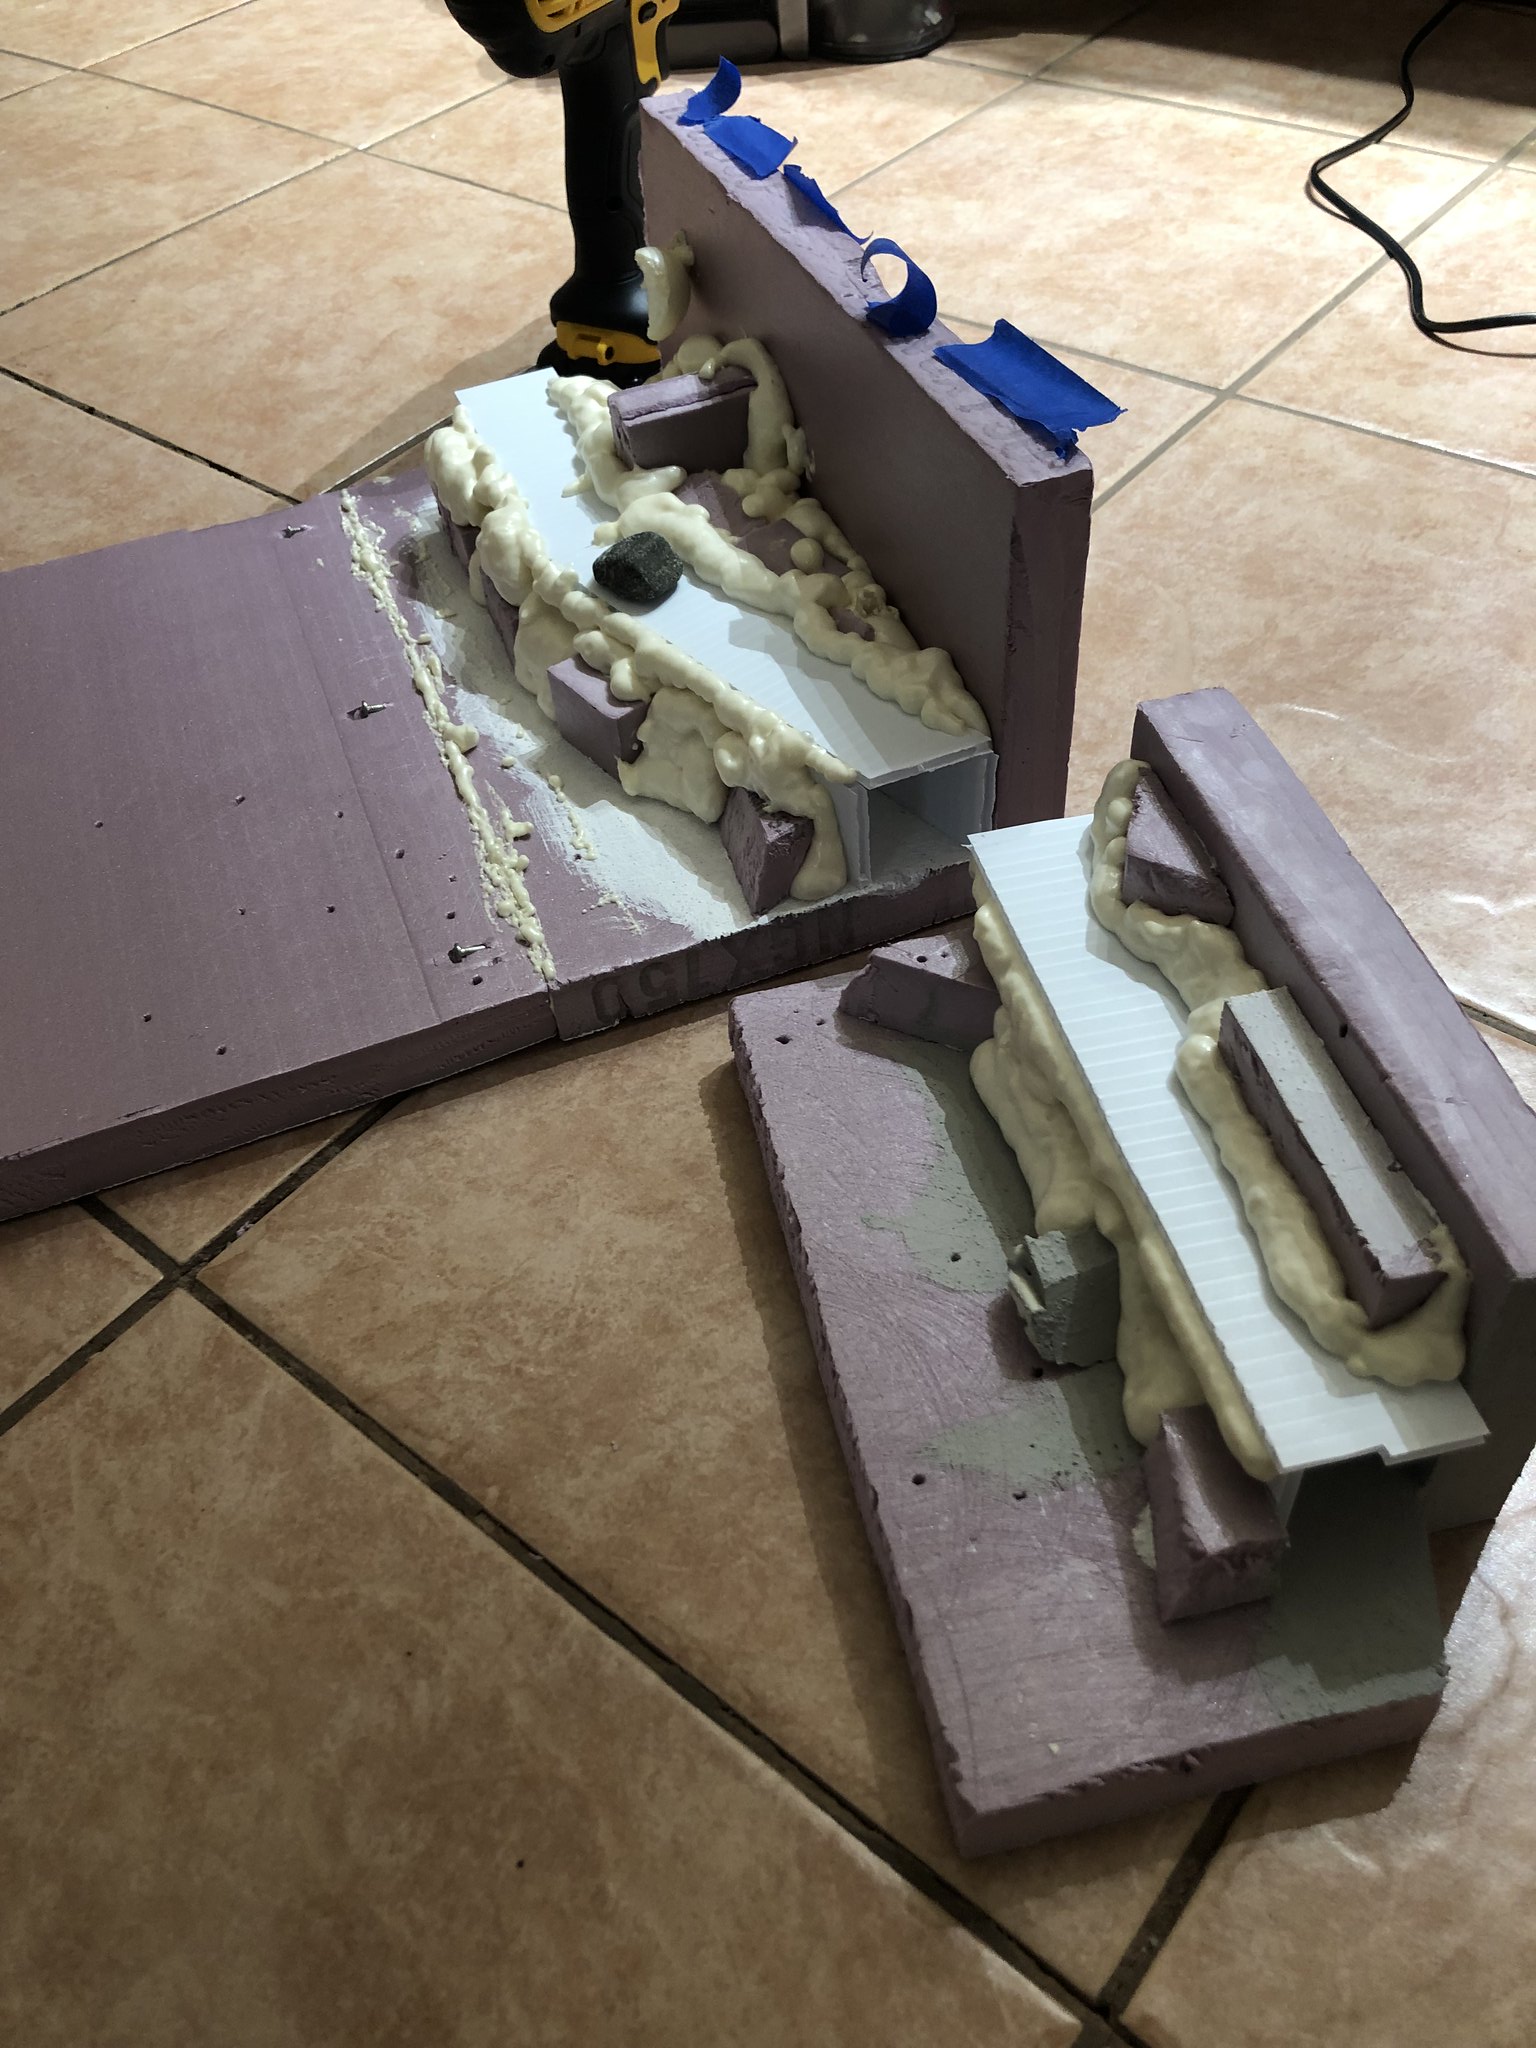
So I mainly spent the past month and a half playing around with materials and setting up a scape. My materials are somewhat limited for the amount of space I have in the enclosure, so it took a lot of thinking and headaches to figure out how to make the most of it while making it practical for orchid growing. The first couple pics below show the progression of how I developed my scape. I made the background removable in case something happens and I need access to the back without doing too much damage. There is also a channel made out of corrugated plastic that will be a conduit for cords, etc. Everything will eventually be sealed with Drylok Original. Some pieces of foam and the cork bark will be stabilized by 2" stainless steel nails.
Fortunately for me, I was able to collect some rocks and driftwood by the Hudson river to add to both the aquatic portion and the rest of the enclosure. This will certainly help in creating more detail and a sense of scale (and be a great place to mount twig epiphytes). It also saves the park rangers some work cleaning up dead wood, although I probably looked ridiculous walking back through the city to my apartment with sticks jutting out of my bag.
Another thing to note is that I will be using large chunks of charcoal to substitute for rocks that will be on the land portion and the walls. I wanted a material that was lightweight enough to glue easily to vertical walls that also had a rocky texture. While pumice and maybe smaller lava rock would have fit those criteria, these were simply not easily available in NYC and extremely costly to ship because of their weight. I finally settled on charcoal that I made sure had no additives (Jealous Devil Lump Charcoal), and was able to purchase a decently sized bag for $30, which would be more than enough to cover my walls. The matte black color of the charcoal would not matter in the long run for me because everything will eventually be covered in moss and plants. I have yet to see anyone using charcoal lumps in terrarium building, so this will be a nice experiment. The original inspiration came from seeing some orchid growers using it in their potting mix, as it is mostly inert (yes there will be some random stuff that will leach out, but it will be a while till everything is crab-ready, so most of it will be washed away with water changes) and will not break down.


Tillandsias and random broms make good planting proxies 

|
|
Post Thanks / Like - 4 Likes
|
|
|
|
|

04-21-2022, 12:53 AM
|
 |
Member
|
|
Join Date: Mar 2021
Location: NYC, NY
Posts: 55
|
|
Some updates. Dendrobium Nano Chip in bloom in the second pic (very nice fragrance):


Also quick video of the dripwall: LINK |
|
Post Thanks / Like - 2 Likes
|
|
|
|
|

04-25-2022, 06:08 PM
|
 |
Member
|
|
Join Date: Mar 2021
Location: NYC, NY
Posts: 55
|
|
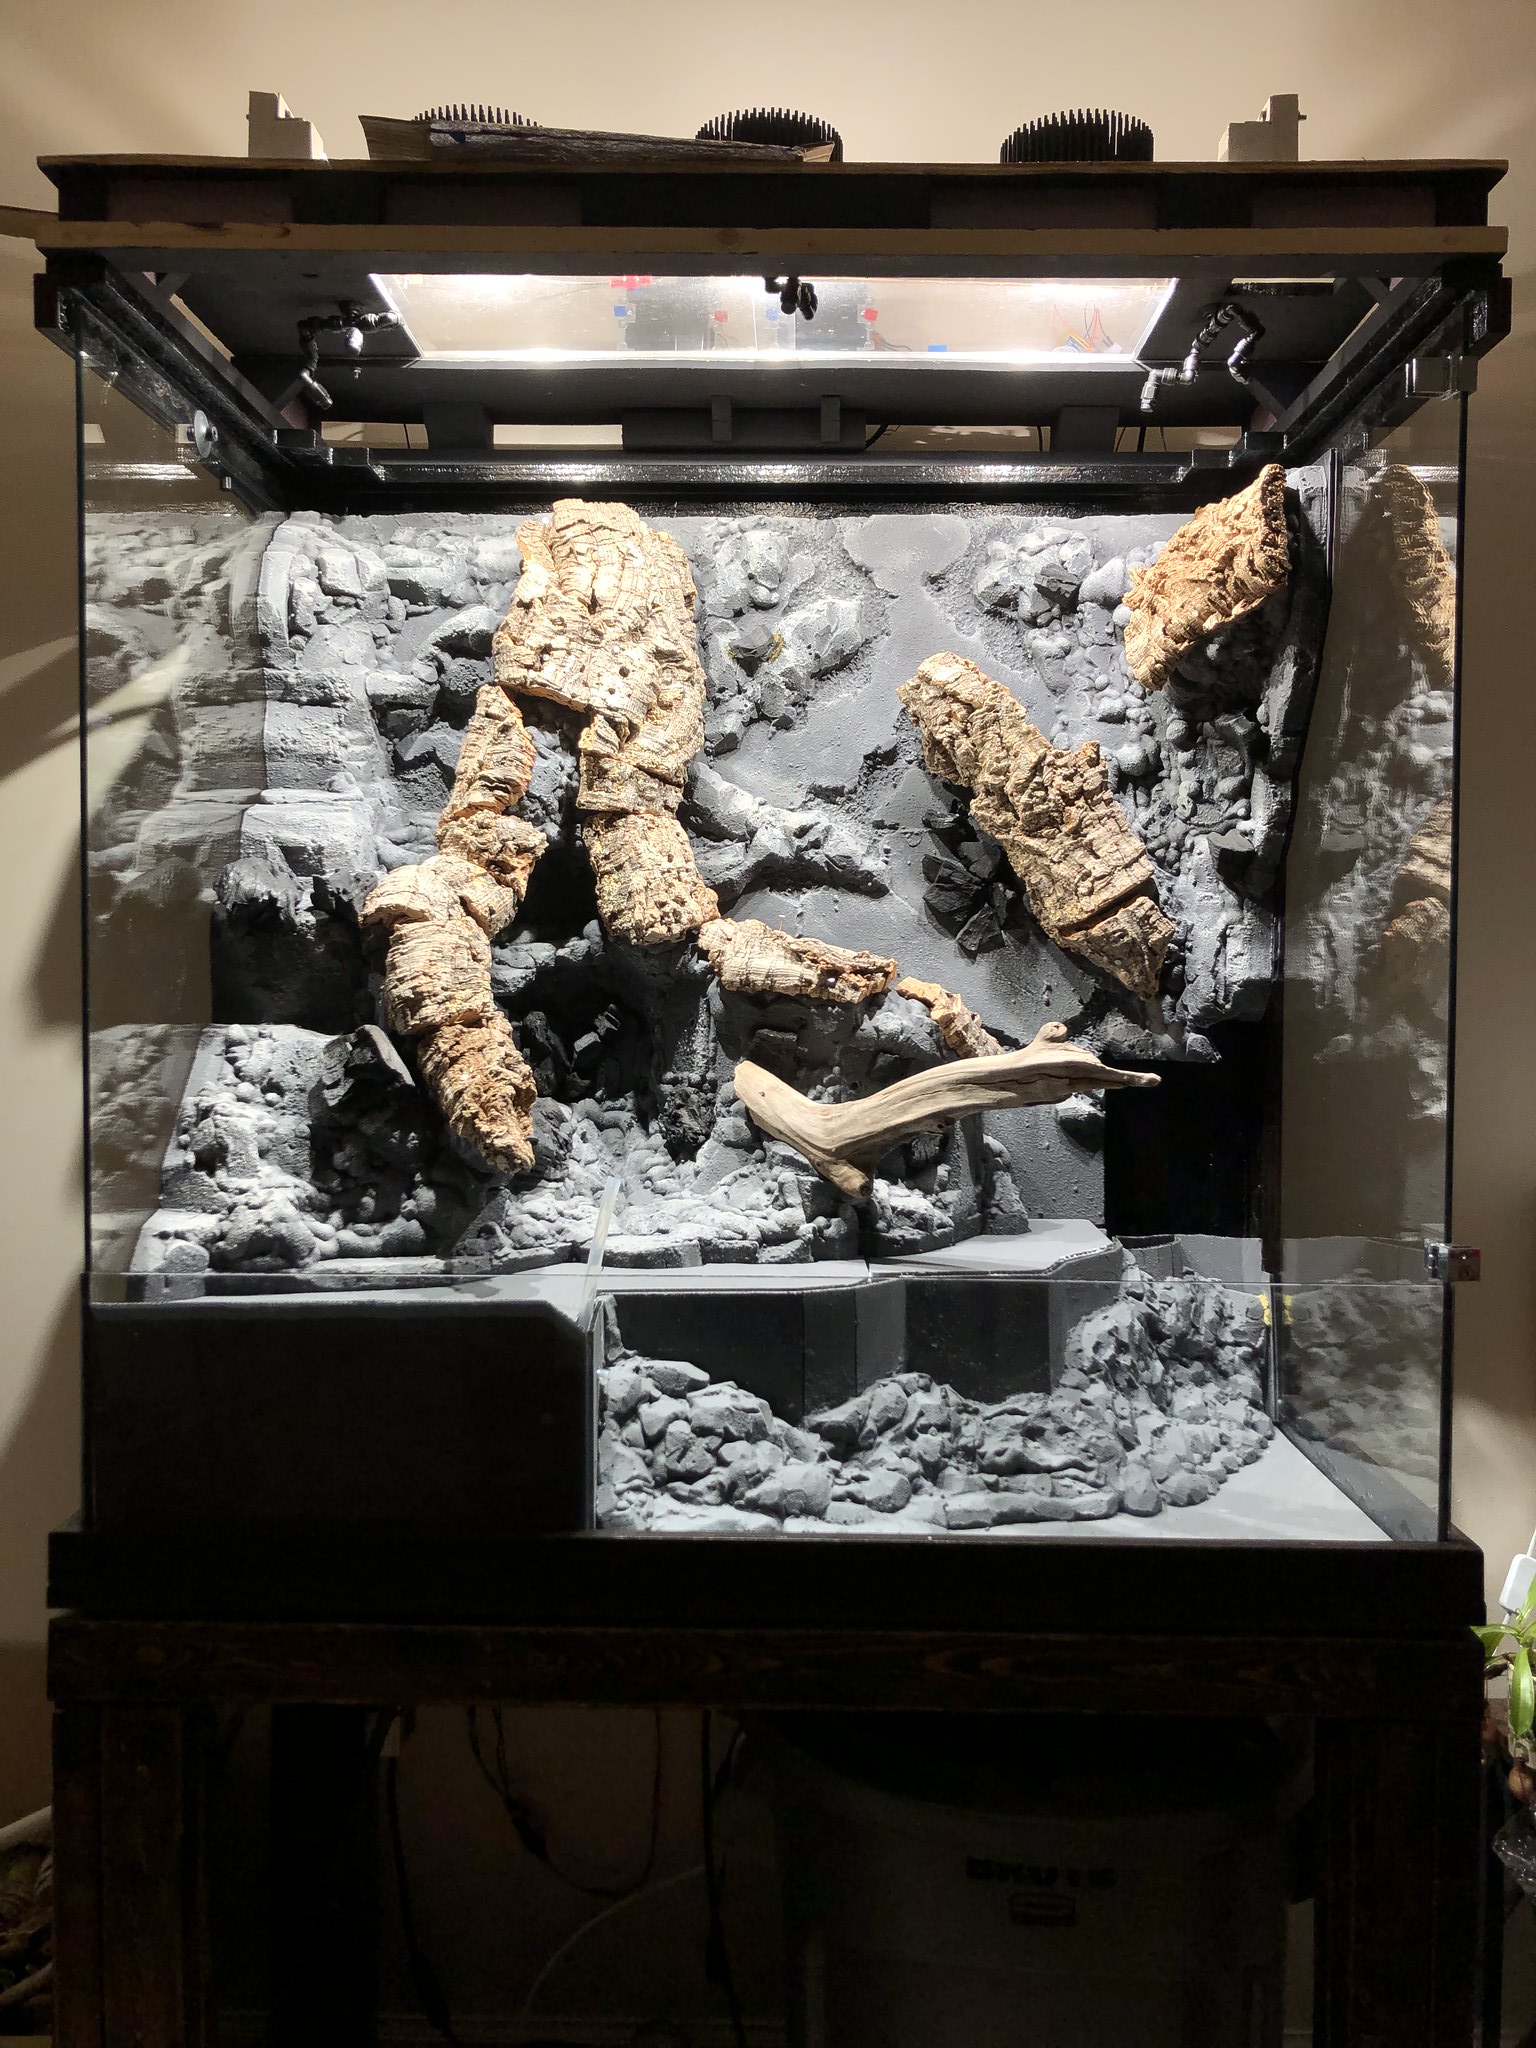
Some of my orchids are really to start coming out of dormancy, so I needed to make this as functional as possible to allow for planting before the roots miss their chance of attaching to the background. Slept very little the past couple of days... Some are too late already (i.e. Cattleya schilleriana) and I have only my procrastination to blame  . I will plant some of the larger plants first and slowly play around with the charcoal and rocks. I'd say it turned out decently.
 |

04-25-2022, 06:09 PM
|
|
Senior Member
|
|
Join Date: Sep 2019
Zone: 10b
Location: South Florida, East Coast
Posts: 5,835
|
|
you can always keep them in pots until the next new growth....dont rush or force anything in a tank...all mistakes are amplified by 100
|
|
Post Thanks / Like - 1 Likes
|
|
|
|
|

04-26-2022, 12:11 AM
|
 |
Senior Member
|
|
Join Date: Jun 2015
Zone: 9b
Location: Phoenix AZ - Lower Sonoran Desert
Posts: 18,722
|
|
One thing I had to keep telling myself when I grew orchids in the school dorm - studying before orchids. Be sure you get enough sleep or you won't retain what you read.
|
|
Currently Active Users Viewing This Thread: 1 (0 members and 1 guests)
|
|
|
 Posting Rules
|
You may not post new threads
You may not post replies
You may not post attachments
You may not edit your posts
HTML code is Off
|
|
|
All times are GMT -4. The time now is 09:10 PM.
|


 Linear Mode


