orchid deflasking is simple yet another chore that required some patience and caution. TO do it the right way would means every seedling plantlet should grow well and free from contamination.
Deflask orchid seedlings is easy and mundane routine but, many a time buyer neglect some
simple and useful method that could easily cause a decrease in yield, as deflasking in a
proper fashion is essential and is a vital skill to pick up for orchid dummy or orchids beginner.
Getting the plantlet out of the flask is by breaking it definitely. How to break the flask properly
so you won’t hurt yourself or cause any injuries to the baby seedlings? these are 3 easy steps one can easily mastered.
STEP 1.) cover the bottom of the flask with a piece of kitchen rag or something thick and cushioning. Encircle, wrap the flask with the chosen cloth tightly.
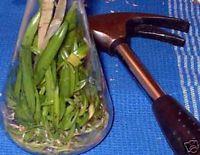
STEP 2) use preferably tool like a hammer, hit it well, strike it right at the bottom readily. You should hear a crispy glass crack, if not try it again, DO NOT STRIKE MORE THAN THRICE as debris will fall inwards and may cause injuries to the orchid seedling roots and foliage.
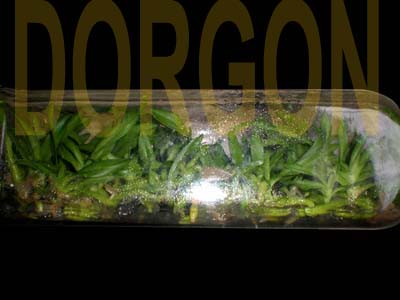
STEP 3) After the flask cracks open, use a tweeter to scoop AND TWEET the plantlets out carefully, take caution for 1 fact. If the plantlets are embedded too hard on onto the growing media, a fruit knife with a small spike is use to dodge in to scoop and rip off an opening in the growing media to enable the baby orchid to fall out easily.
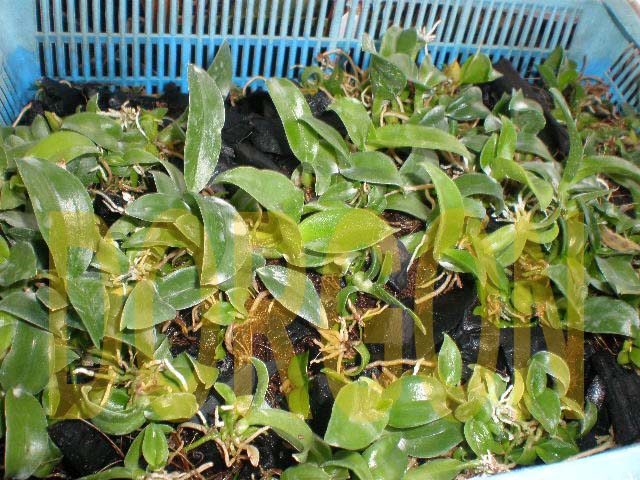
There you go! you have successfully completed deflasking an orchid flask.: )
Bookmark us today and follow us to learn about orchids care and how to grow orchid well in any type of environment.
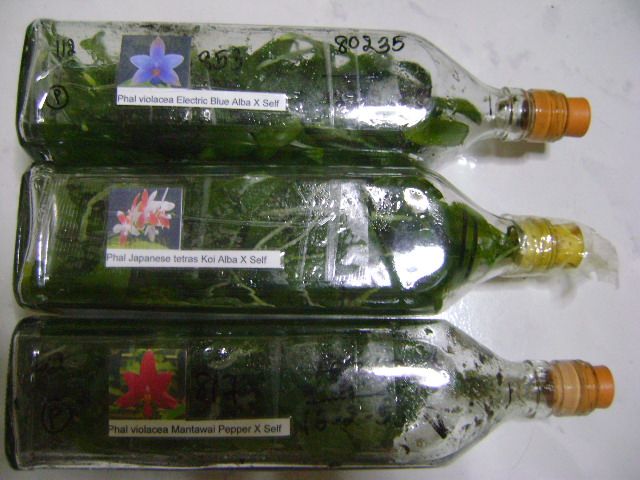
Everything is fragile at this state, so bear in mind that we need to do thing slowly to ensure success.
[IMG]
[/IMG]
[IMG]
[/IMG]
Mr Dorgon
International Orchid Grower
Asean Orchid Society
Orchidynasty international orchid plants grower
All rights reserved 2007–2014


 Linear Mode


