My new flasking glove box
Login
User Name
Password   


Registration is FREE. Click to become a member of OrchidBoard community
(You're NOT logged in)

menu menu

Sponsor
Donate Now
and become
Forum Supporter.

My new flasking glove box
Many perks!
<...more...>


Sponsor
 

Google


Fauna Top Sites
Register My new flasking glove box Members My new flasking glove box My new flasking glove box Today's PostsMy new flasking glove box My new flasking glove box My new flasking glove box
LOG IN/REGISTER TO CLOSE THIS ADVERTISEMENT
Go Back   Orchid Board - Most Complete Orchid Forum on the web ! > >
Reply
 
Thread Tools Rate Thread Display Modes
  #1  
Old 04-27-2009, 12:19 PM
s1214215 s1214215 is offline
Senior Member
 

Join Date: Sep 2008
Location: Queensland
Age: 54
Posts: 623
My new flasking glove box Male
Default My new flasking glove box

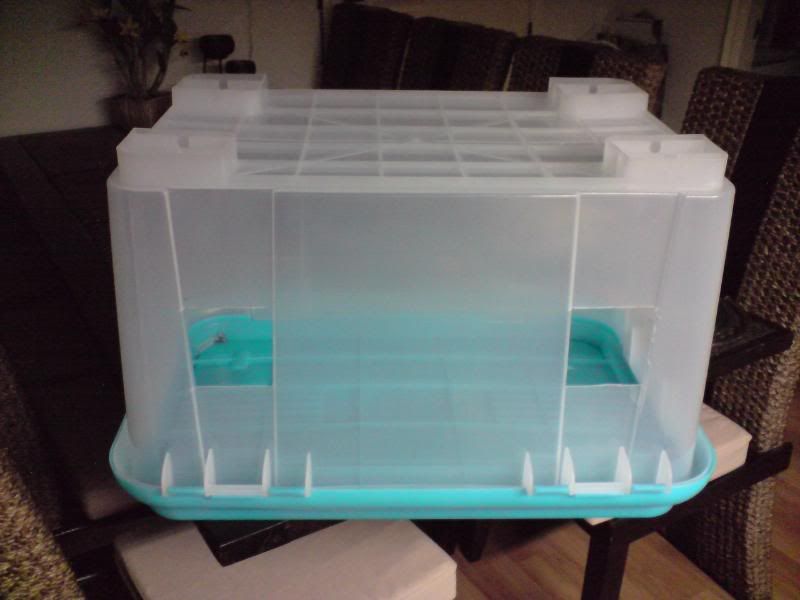
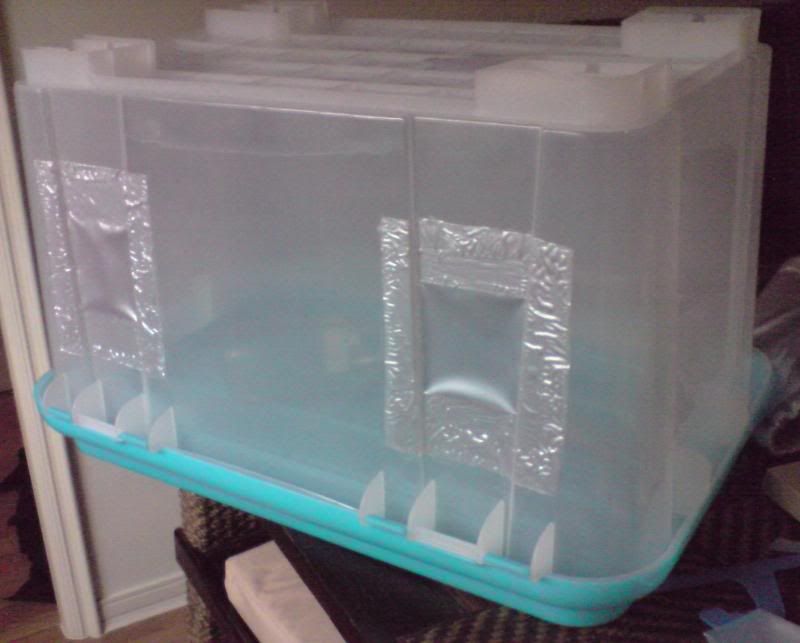
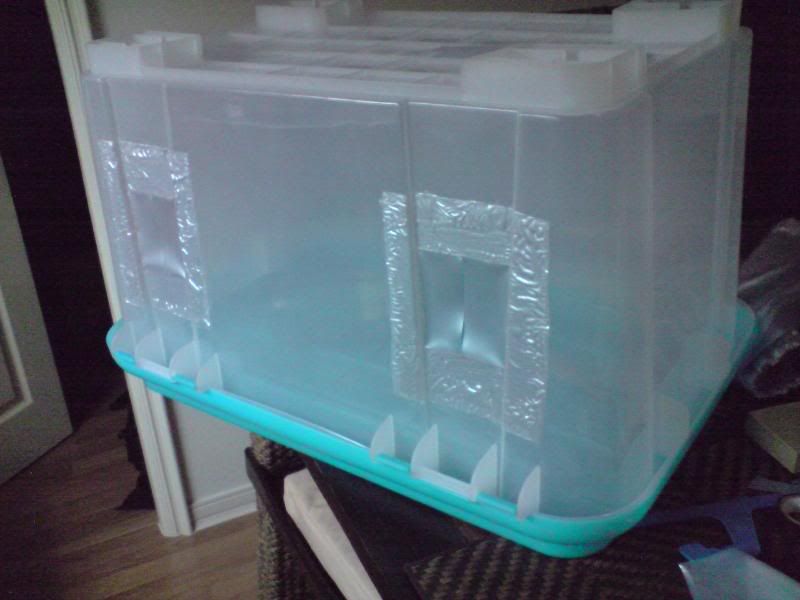
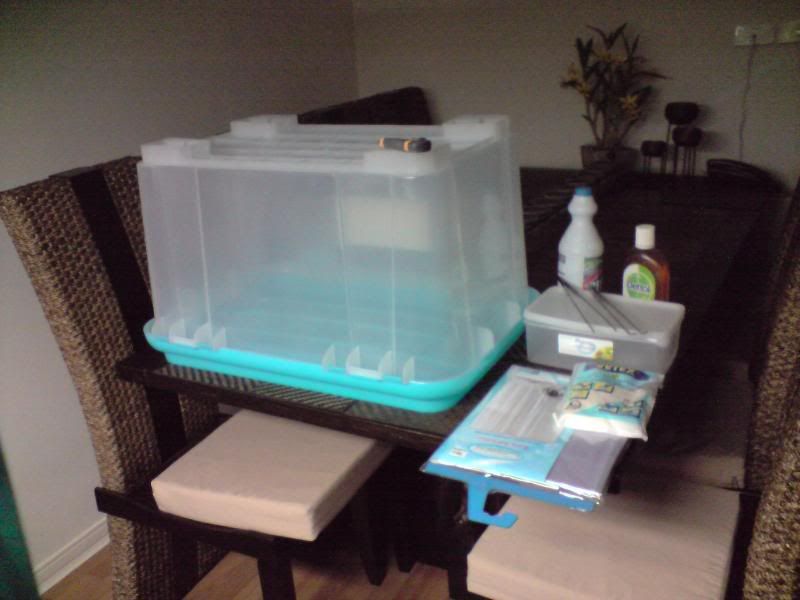
Here is my new flasking glove box I made tonight.

I've tried several flasking labs around Bangkok. I didnt like the "we're the lab and know more about your seed than you" attitude I got. Not bad when they had not a clue what my species was and tried to find a common name in Thai . twice I was told the lab would decide what was suitable media and my input was not needed

I also need to reflask some phals that arrived a bit tossed around in their flask. I couldnt get that done here either unless they were small enough to go into a whisky bottle.

Fine, they dont get my money any more and I am going to do it myself. I 've a good source of media in Australia who give great advice http://www.westernorchids.com.au/index.html

I did my research on the web and here is the method and result.

You will need:

1 large clear plastic storage container.
1 Plastic sheeting (I used a shower curtain which is tough)
1 a stanley knife
4 plastic glue (do a compatibility test first - my glue bubbled a little under the plastic, but it seems ok.
5 someone who can sew or some long rubber/plastic arm protectors if you can get them.


Brett

Last edited by s1214215; 04-27-2009 at 12:40 PM..
Reply With Quote
  #2  
Old 04-27-2009, 12:30 PM
s1214215 s1214215 is offline
Senior Member
 

Join Date: Sep 2008
Location: Queensland
Age: 54
Posts: 623
My new flasking glove box Male
Default

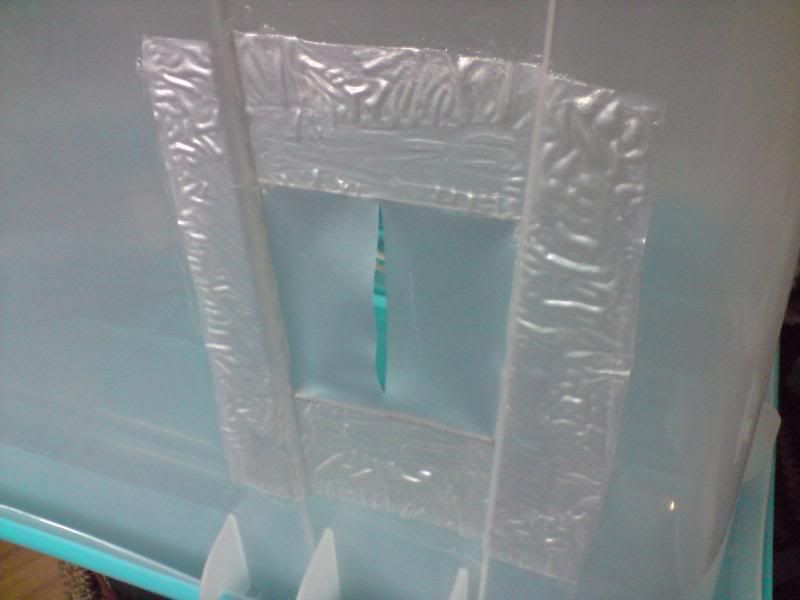
Fist step was to cut out the holes in the box, keeping in mind to not place either to far apart or too close. I held my arms above the box to get a feel where I wanted the holes. Cutting with a stanley knive was a challenge in that it was easy to split the plastic if not careful. I could have heated the knife, but didnt want to stink my apartment out.


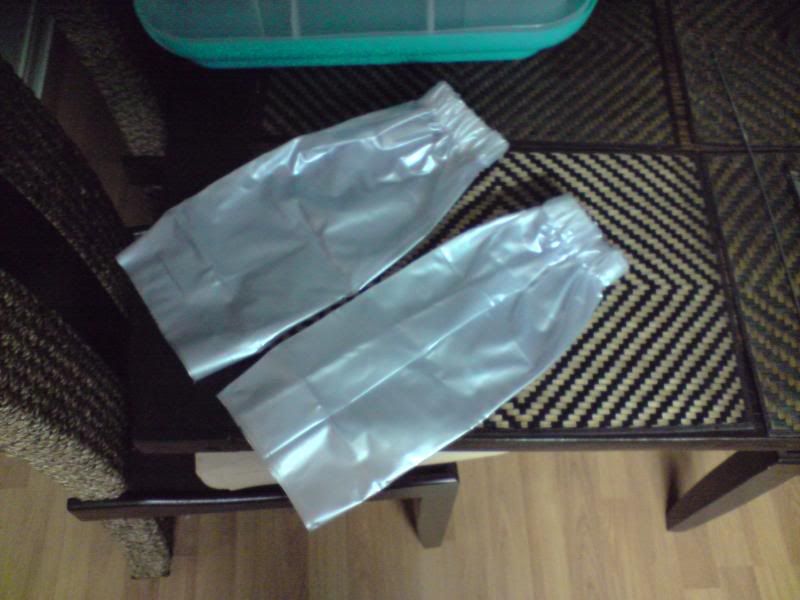
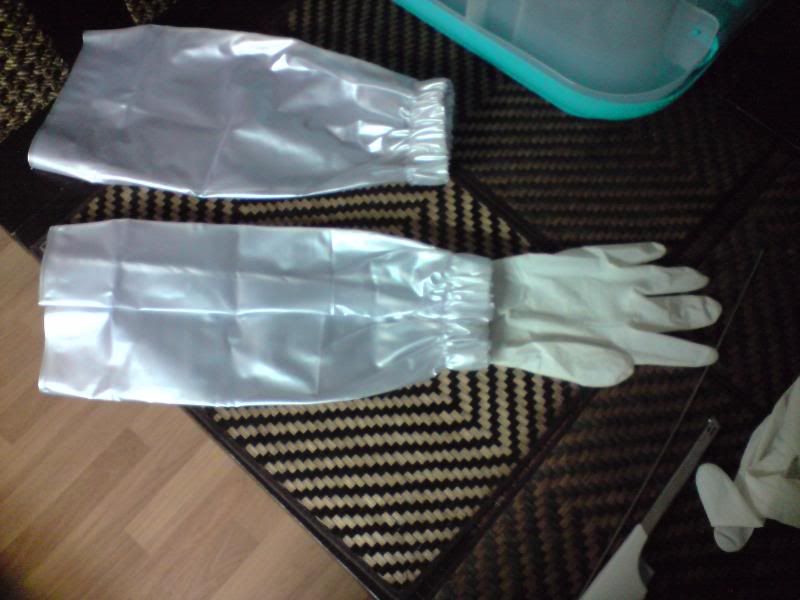
I found a really nice seamstress near by. I provided two sheets of shower curtain and some thick elastic and she made these arm covers. I am sure you can buy something premade, but this was way easier than a trek to find it here in Bangkok in 40c heat.


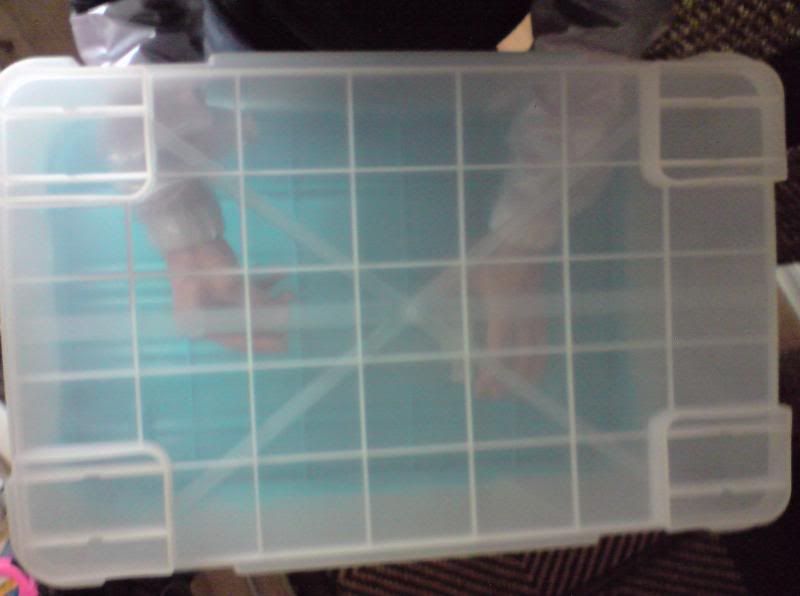
Me testing the covers and box.


Next I glued two sheets of shower curtain over the holes and split them down the centre. Once it is all dry I will test it out. Hopefully, if I am right, I should get a good seal once the covers slide through.


I will post more pics tomorrow when I test putting my arms with gloves through the slits in the hole covers and see if I get a good seal. If that fails, back to the drawing board for creating a good seal.

Brett
Reply With Quote
  #3  
Old 04-27-2009, 12:35 PM
Zozzl Zozzl is offline
Senior Member
 

Join Date: Feb 2009
Zone: 9a
Location: Orlando
Posts: 210
Default

That looks like a really nice setup. You know you can just use duct tape for the glove holes and it works fine. I think one of the most important things is just spraying the heck out of everything with a clorox solution and then letting it set for 15 minutes before you get started.

You did a good job!

Pat
Reply With Quote
  #4  
Old 04-27-2009, 12:44 PM
s1214215 s1214215 is offline
Senior Member
 

Join Date: Sep 2008
Location: Queensland
Age: 54
Posts: 623
My new flasking glove box Male
Default

Quote:
Originally Posted by Zozzl View Post
That looks like a really nice setup. You know you can just use duct tape for the glove holes and it works fine. I think one of the most important things is just spraying the heck out of everything with a clorox solution and then letting it set for 15 minutes before you get started.

You did a good job!

Pat
Thanks Pat. Doh! Why didnt I think of the duct tape. Still the shower curtain was cheap and should be durable. I am really please with the sleeves.

I have my clorox handy and am ready to go once the box glue is cured. The flasks are sitting there ready to go.

Brett
Reply With Quote
  #5  
Old 04-27-2009, 12:44 PM
Royal Royal is offline
Senior Member
 

Join Date: Jan 2008
Zone: 8a
Location: Piney Woods of East Texas
Age: 47
Posts: 3,253
Default

Looks good, Brett. I doubt you'll have a problem with the "seal". I've made a few myself and have found that an air tight seal isn't as crucial as I thought. Air currents in the box will cause you problems, but as long as it is very clean and draft free, sterile transfers should be possible.

Adequate size and a flat working area mean that all movements can be slow, smooth, and deliberate. This will make all the difference. Looks like you chose a good size from the start. Just be meticulously clean and you'll be fine. Good luck!
Reply With Quote
  #6  
Old 04-27-2009, 12:48 PM
Royal Royal is offline
Senior Member
 

Join Date: Jan 2008
Zone: 8a
Location: Piney Woods of East Texas
Age: 47
Posts: 3,253
Default

I clean the box with clorox first, but then I only use alcohol to spray once inside the box. Alcohol is a bit more expensive, but it's worth it to me to not have to breath in all those Cl fumes. If the surfaces are clean to start with, a misting of alcohol does a great job of knocking down any floating particulates inside the box. The rest is up to good asceptic technique.
Reply With Quote
  #7  
Old 04-27-2009, 12:55 PM
s1214215 s1214215 is offline
Senior Member
 

Join Date: Sep 2008
Location: Queensland
Age: 54
Posts: 623
My new flasking glove box Male
Default

Quote:
Originally Posted by RoyalOrchids View Post
I clean the box with clorox first, but then I only use alcohol to spray once inside the box. Alcohol is a bit more expensive, but it's worth it to me to not have to breath in all those Cl fumes. If the surfaces are clean to start with, a misting of alcohol does a great job of knocking down any floating particulates inside the box. The rest is up to good asceptic technique.
Hi Royal

Other than alcohol, is Detol ok? I read it was an OK antiseptic to use and smells ok. Thanks for the advice on wiping out. I was thinking along those lines too.

The good thing about this box is that it has a deep lid and can hold some liquid.

Brett
Reply With Quote
  #8  
Old 04-27-2009, 03:42 PM
Royal Royal is offline
Senior Member
 

Join Date: Jan 2008
Zone: 8a
Location: Piney Woods of East Texas
Age: 47
Posts: 3,253
Default

Quote:
Originally Posted by s1214215 View Post
Hi Royal

Other than alcohol, is Detol ok? I read it was an OK antiseptic to use and smells ok. Thanks for the advice on wiping out. I was thinking along those lines too.

The good thing about this box is that it has a deep lid and can hold some liquid.

Brett
I'm not familiar with Detol. I just use Isopropyl Alcohol (70%) in the spray bottle. I use a fine mist spray on my hands when I first put them in. I spray the outside of everything, wipe down with plain paper towels, then give one last squirt of alcohol mist before working.

I guess my method is kind of a combo of the glovebox and damp towel method. I was worried about my glovebox but figured if people could sow under a bleach soaked towel on the kitchen counter than I could make it work. It's no flow hood, but it gets the job done.

I found the OB when looking for info on making a glove box. You can see from my join date that I haven't been at it long, but I've had some success. It sounds like you've done your homework too, you'll be swimming in seedlings in no time - trust me.
Reply With Quote
  #9  
Old 05-03-2009, 05:56 AM
s1214215 s1214215 is offline
Senior Member
 

Join Date: Sep 2008
Location: Queensland
Age: 54
Posts: 623
My new flasking glove box Male
Default

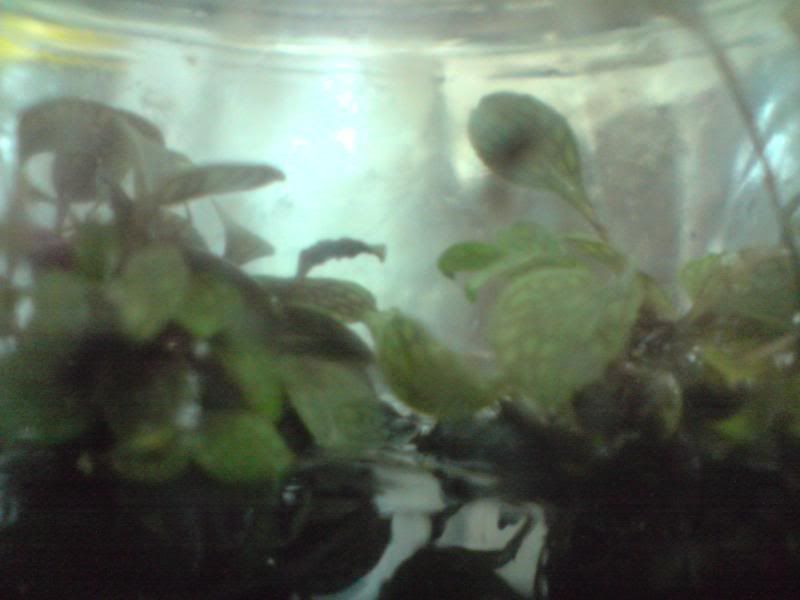
I have done my reflasking and flasked some seeds of Lepanthes Elata.

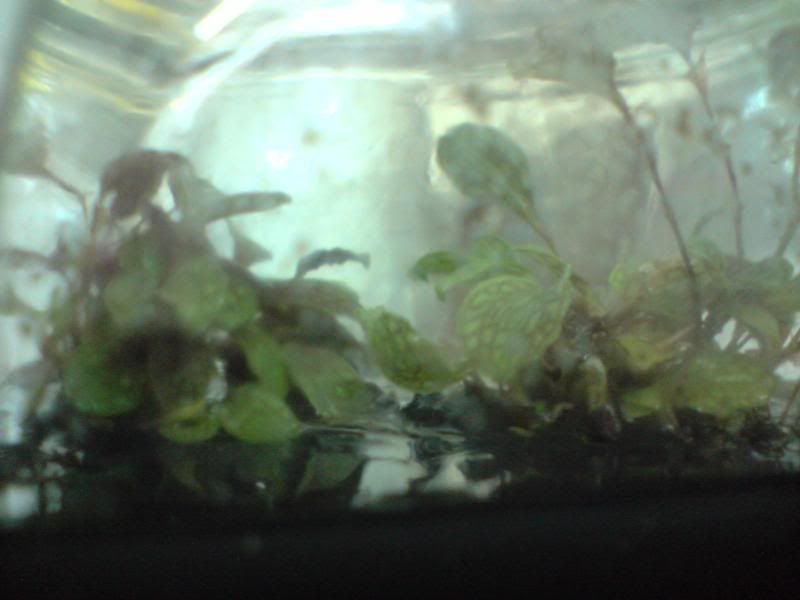
My plants of Lepanthes Saltatrix X L. Calodictyon. My friend JMP from France sent them in a sterile vermiculite, agar, sugar mix in two tiny bottles


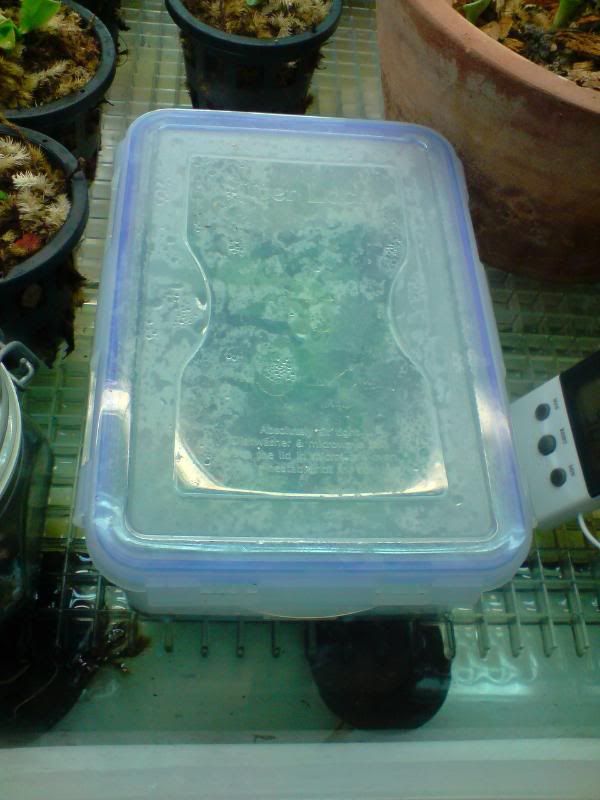
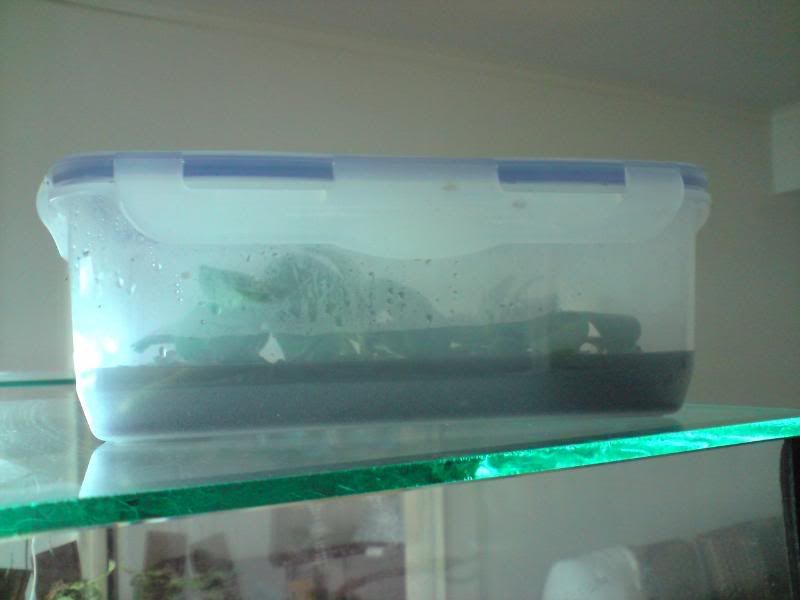
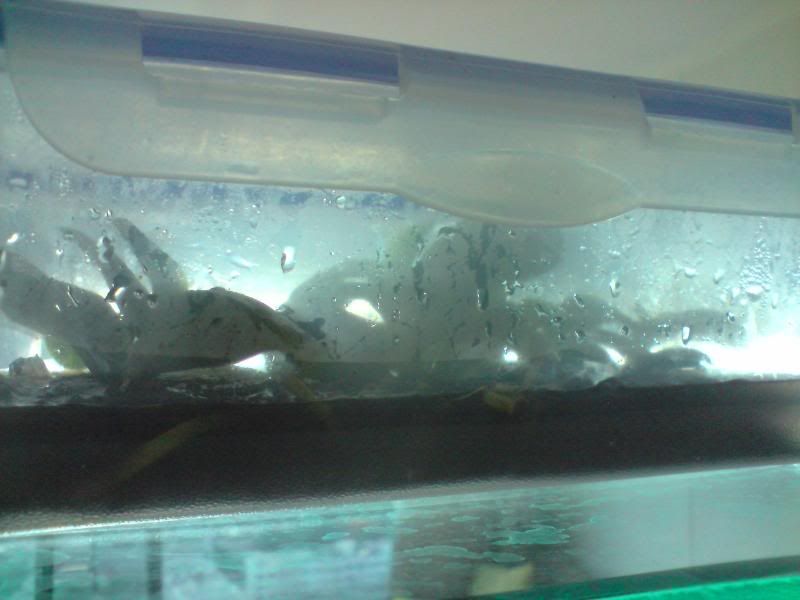
My blue Phalaenopsis Violaceas. I hate glass flasks, so I am trying air-tight, antibacterial impregnated plastic lunchboxes. I have seen this done by others. The just sterilize them with dissinfectant and do the agar in a jar in the pressure cooker, then transfer it while still hot.

I did this and no infections at 5 days. Fingers crossed.


No pics of the L. Elata yet, nothing to see there.

Brett
Reply With Quote
  #10  
Old 05-03-2009, 09:54 AM
Zozzl Zozzl is offline
Senior Member
 

Join Date: Feb 2009
Zone: 9a
Location: Orlando
Posts: 210
Default
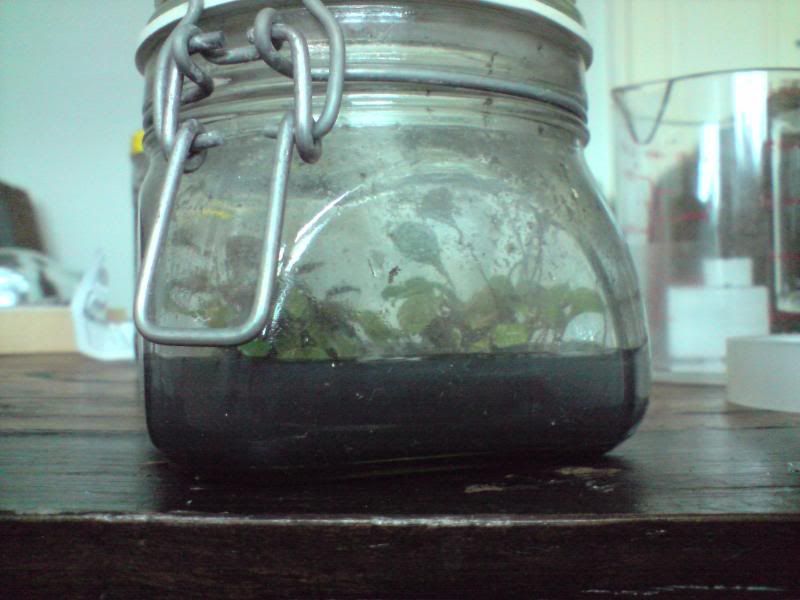
That looks like it would be much easier for reflasking than working with jars. Great photos!
Reply With Quote
Reply

Bookmarks

Tags
box, flasking, glove, glue, plastic


Currently Active Users Viewing This Thread: 1 (0 members and 1 guests)
 

Posting Rules
You may not post new threads
You may not post replies
You may not post attachments
You may not edit your posts

BB code is On
Smilies are On
[IMG] code is On
HTML code is Off


Similar Threads
Thread Thread Starter Forum Replies Last Post
Home Made Flasking Media & Flask Sterilization King_of_orchid_growing:) Propagation 10 05-23-2009 06:39 PM
Favorite type of glass for flasking? Boyajian Propagation 21 10-27-2008 12:12 AM
home flasking kits ericst11 Propagation 4 07-31-2008 01:06 AM
Cramming info before Flasking... Orchidaholic Propagation 21 02-09-2008 09:17 AM

All times are GMT -4. The time now is 10:18 PM.

© 2007 OrchidBoard.com
Search Engine Optimisation provided by DragonByte SEO v2.0.37 (Lite) - vBulletin Mods & Addons Copyright © 2024 DragonByte Technologies Ltd.
Feedback Buttons provided by Advanced Post Thanks / Like (Lite) - vBulletin Mods & Addons Copyright © 2024 DragonByte Technologies Ltd.

Clubs vBulletin Plugins by Drive Thru Online, Inc.