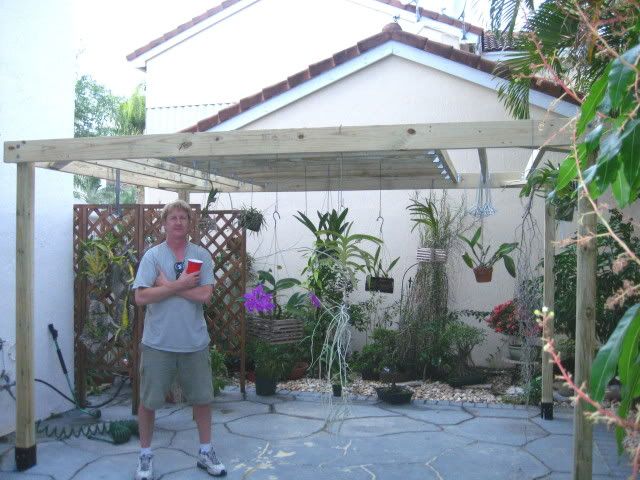
I have finished the shade house and most of the ground work. I won't put any plants in it for a couple weeks to let the Thompson's Waterproofer leech off the beams.
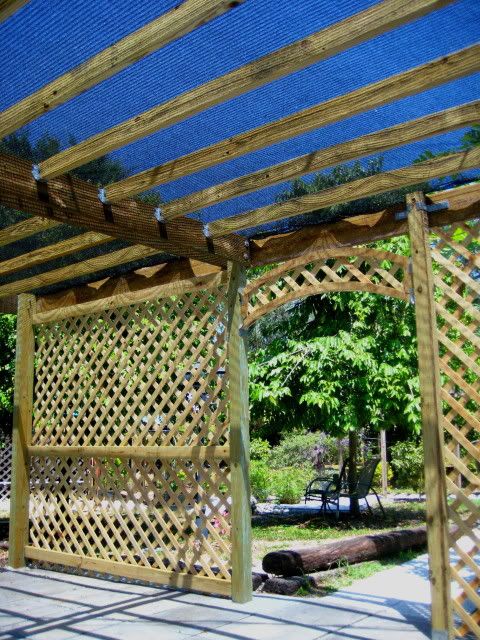
Here is a photo to shortcut the lengthy build process:

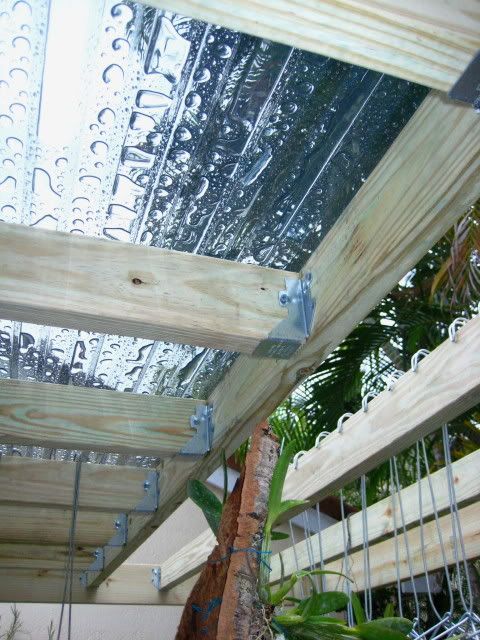
The roof beams, without the shadecloth.

Here's how I got started..
After Wilma destroyed most of the flowering trees in my yard, I am working on the 'Uglies'. My neighbor's ugly fence, an ugly view from my patio, and primarily this ugly corner of my yard. I had some hybrid Heliconias growing in this corner. Wilma and the two hard-freeze winters recently took me out of the Heliconia mood. I also have a large
Myrmecophila (Schomburgkia) Tibicinis (Thank you Nat !) that I want to thin out some, and plank up.
So, I decided to build a shade house in my ugly corner.


First, I looked at all the pics that Google had on 'corner arbors' and shade houses. Over many beers and sheets of paper, I penciled out a design. I decided to use the 90-degree corner and go out 8 feet on both sides, and across the hypotenuse, about 11 feet. I am using PT 4X4's for the uprights, planted in cement. I will use 2X6 headers across the hypotenuse, and for a second set of joists in the back.

The roof is undecided, but will be a wood frame of some sort with shade cloth.

I will use 2X8 PT for the decking. I will have three rows of shelves on each leg. I will make a potting area on the middle shelf in the corner. The upper shelf I want to hang from the trusses. The bottom two shelves will be PT 2X8's and 2X6's, staggered for light and watering. I will have storage under the lowest shelf. The upper shelf.. I want to be frame & wire, and hanging. Am looking for something recycled/modified.. Cool looking.

Ready.. Fire.. AIM ! Off to the shovel I went.

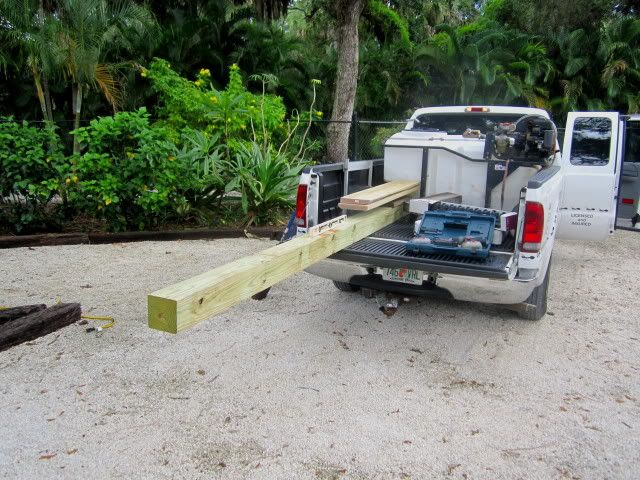
I set the back corner post to start with. and worked out from that to both legs. I kept it under 8 feet to 'value-engineer' the lumber; Fat chance ! All the 8 foot stuff is crooked and wet. I wound up buying mostly 10 and 12 foot wood that had dried on the racks, and was straight & true.
The challenges were many: Setting a floor grade was first & foremost. I wanted 6'2 head room inside. Plus the 5.5" joists, and inch of pitch in the floor, back-to-front. Then I figured what was left to bury and cement-in, less the subfloor; More beers, more sheets of paper, and more trips to Lowe's. Seemed like each trip was 53 to 57 dollars.. I must be OCD as well. My mantra aloud was "Measure twice, cut once." I set the corner posts and worked off of them to set the middle pair for the back header. OCD all the way: Plumb and level.. plumb and level. Quikrete is a lie, BTW. It needs to be mixed in the ground...


After all the obsessive behavior, pulled stringlines, measuring, and digging, I checked my seven posts' dimensions. Crisis !! I was an inch longer on one leg.. Oh well...
Next I pulled the lines on the legs to transfer the floor level to all the post. Luckily, my OCD/double-check mentality divulged that my line level was off.. Fixed the marks and popped the chalklines for the subfloor. More digging. Then to Lowe's for a crap-ton of deck screws and stain. ($56 trip). Being anal as well, I sealed up the bases of the posts with some spray undercoating. So much water will run down these posts and joints.. Gotta stave off the rot for ten years anyway.. I am also caulking every joint below deck with roofing bull.. That's a messy chore, but necessary for the anal/OCD voices in my head.


Back into the dirt for subfloor work.. Cut the wood, fit it, then stain & seal twice in the sun.. then mount. Repeat, and rinse... Connect all the lines and Voila ! I did get carried away with the concrete on two posts.. Poured it too high and got in the way of the 5.5" I needed for the subfloor beams.. I cut the beams and set them on the concrete.. Extra sealing coats..

I framed up all the subfloor and formed water channels to run off the water away from the posts. I treated the soil and cut in two layers of 6 mil Visqueen.

I am using 2X10's as valences for the top sides. I cut a little feature on the ends and stained them up. Two coats on everything and a coat of waterproofer when dry.

I didn't wait long enough, and these things were heavy and slippery to mount. Took a whack on the head in the process, but I got them hung. I used 4.5" ledger bolts on every post.

I stained the two 2X6X12' joists and cut them to fit. I bolted them up to the front posts and they fit perfectly.

Now to work the decking: I used 2X8's for the primary standing area, and 2X6's to the edges. I started in the middle and worked out. I butted them tight as they will shrink on their own. Again, everything two coats of stain, pre-drill every hole and seal up all screws..


I am not partial to the heavy, dark stain color, but the wife is in charge of fashion/colors. She has a yard plan..
Deck is all done and trimmed out. I am working on the shelves now.
I got stain on all the posts and finished the lower shelf for plants..


Add the roof beams, some ground work, and I will be close !!
Latest photo..

BTW, I am new to orchids and shadehouses.. If you have any ideas for me as I progress, please share..
Woodsie





 Linear Mode


