I had been saving up for a pre-fab, polycarb kit greenhouse for a few weeks when sadly, a member of my local orchid society passed away.
This however, meant a perfectly serviceable 4 metre by 3 metre glasshouse was left sitting her backyard, most likely to be torn down after the house was sold by her children.
The glasshouse itself was located an hour and a half from where I live, and my boyfriend and I had never attempted anything like this before. Needless to say, I learned a lot, and given my time over I would do a lot of things differently.
In saying that, two of us got the entire thing disassembled, onto a hire truck, and finally reassembled in our back yard in 4 days or so, split up over a week.
Though the glasshouse proved a lot more work than a light-and-simple polycarb kit house, the real clincher was the price, the daughter of the deceased was happy to let it go for 200 bucks. It was an offer I really couldn't refuse. Especially as the new kits I was looking at were going to cost me about $4000 or so with staging and aluminet shade-cloth.
Without further ado - PhÖtoS !
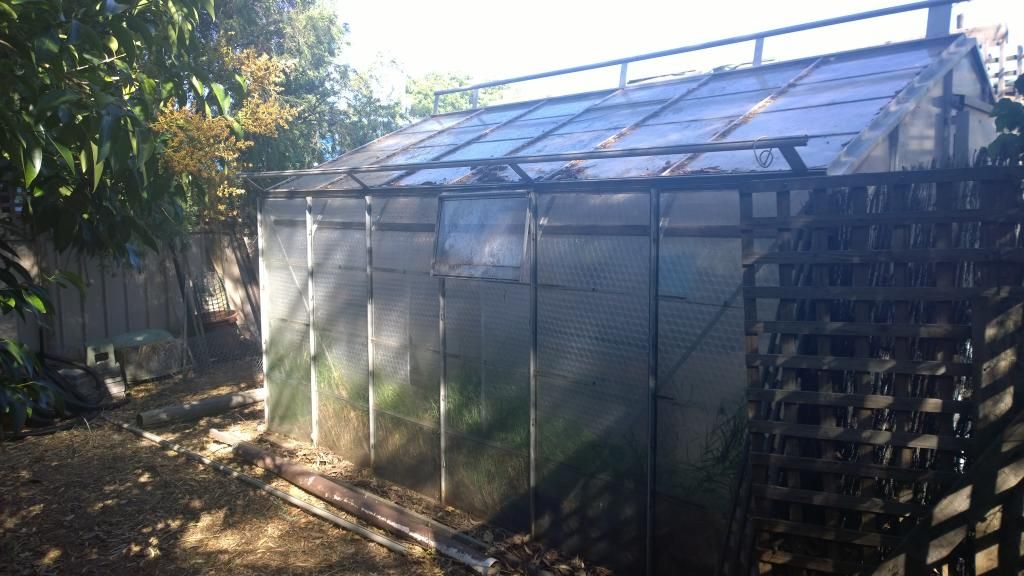
The original setting, after I had pulled off the 70% green shade cloth. It was filthy and had a lot of grass growing inside it - it hadn't been used for a year or two. The weekend we took this down was 45 degrees both days, (113F), we were just about dead by the end of it.
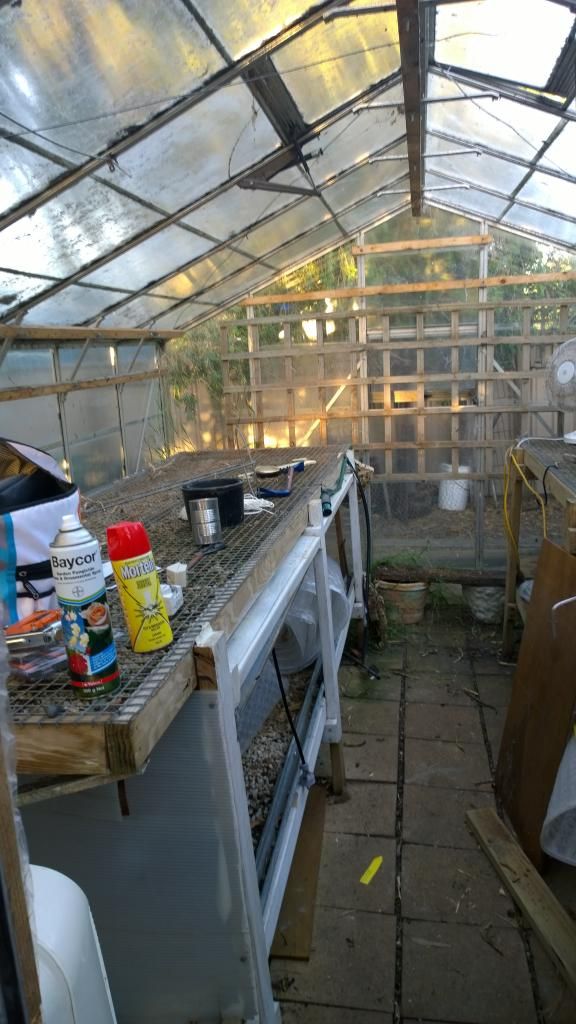
The original inside, very simple. The benches were home made and were incredibly heavy, impossible to move with just two of us. Luckily the original, less heavy benches were stacked up at the back of the property, so we took those instead.
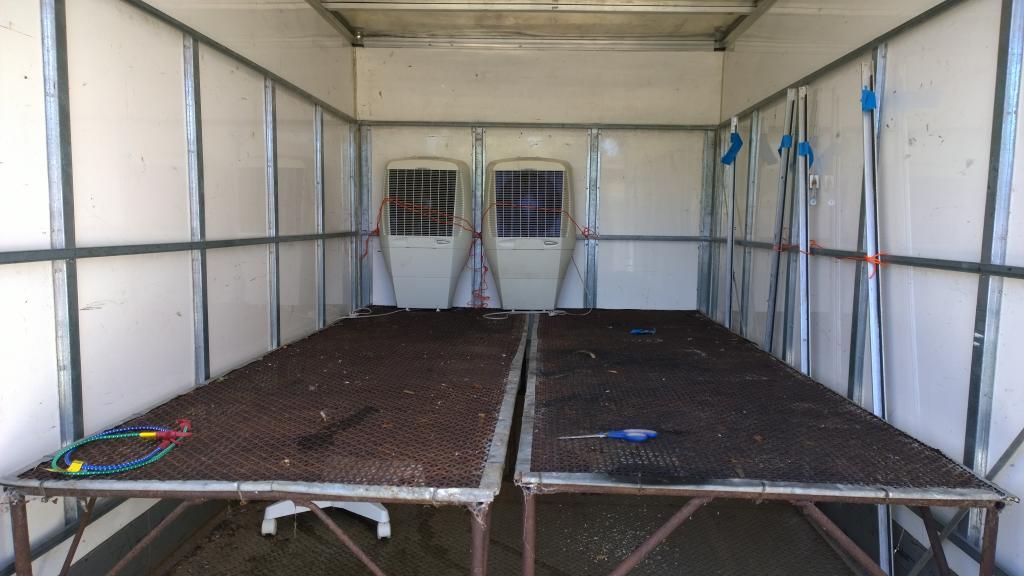
Packing the truck. The less said about this painful experience the better. You can however see the original benches here that came with the glasshouse. Still in good condition despite a decade of being left out in the sun and rain.
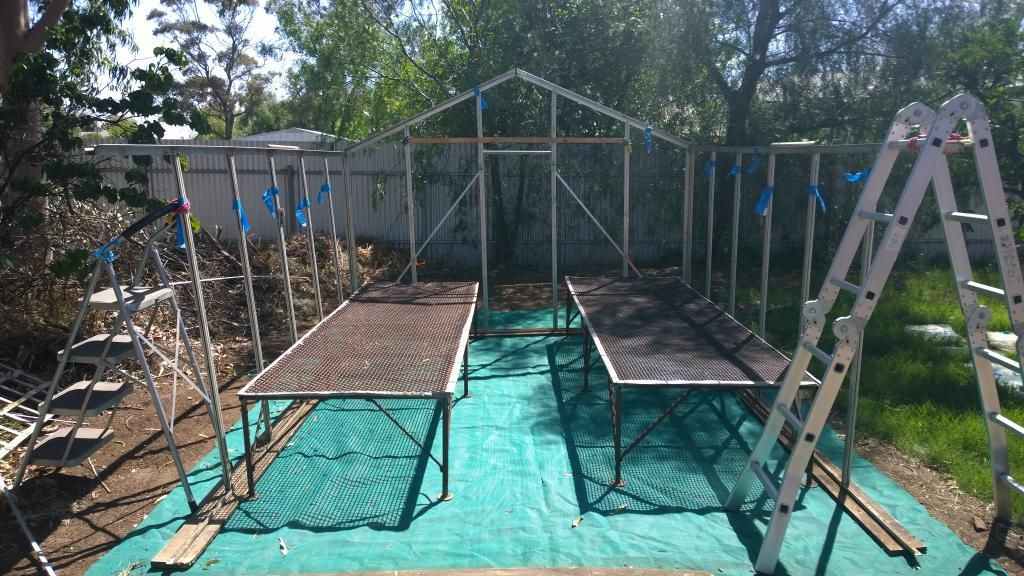
Starting to get the basics together back on our property. A few walls up and benches in.
Roof beams coming together.
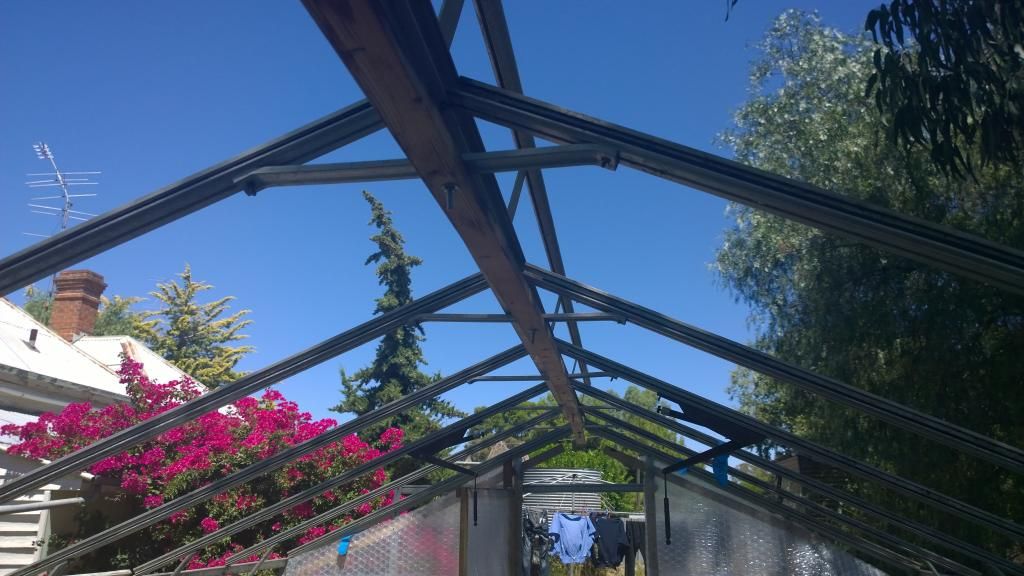
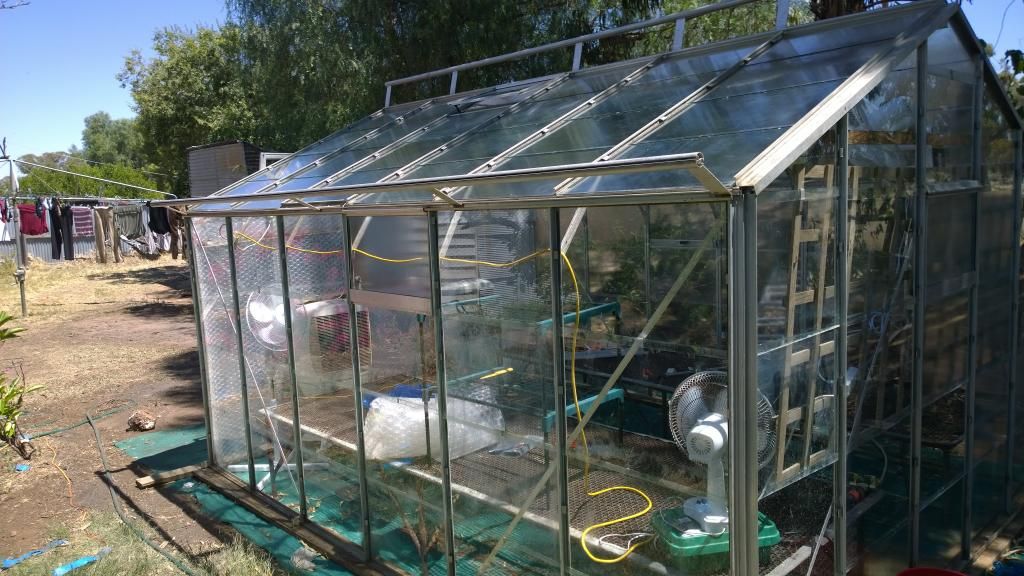
Glass all in, starting to figure out wiring and plumbing.
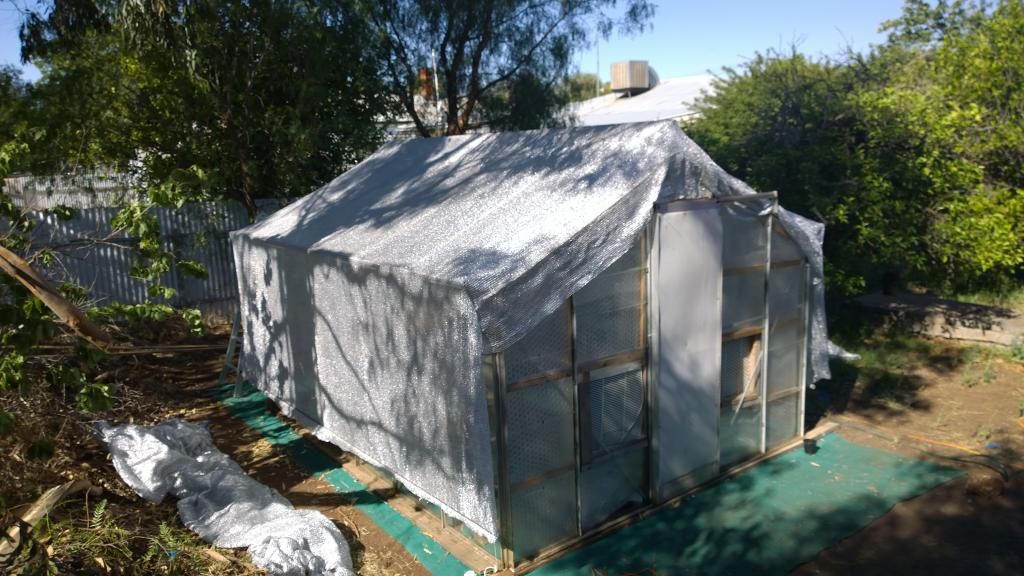
The new Aluminet shade cloth, rated 50%. To have a piece custom made to fit the old frame was going to cost about 1200 bucks, so instead we went with 2 'offcut' pieces left over from a commercial job. Although they took some trimming and connecting, the two pieces cost 30 bucks each. Too big a saving to pass up.
Finally set up and running. Two evaporative coolers, (swamp coolers), set on a thermostat to turn on at 33C, (91F), and off again at 29C, (84F).
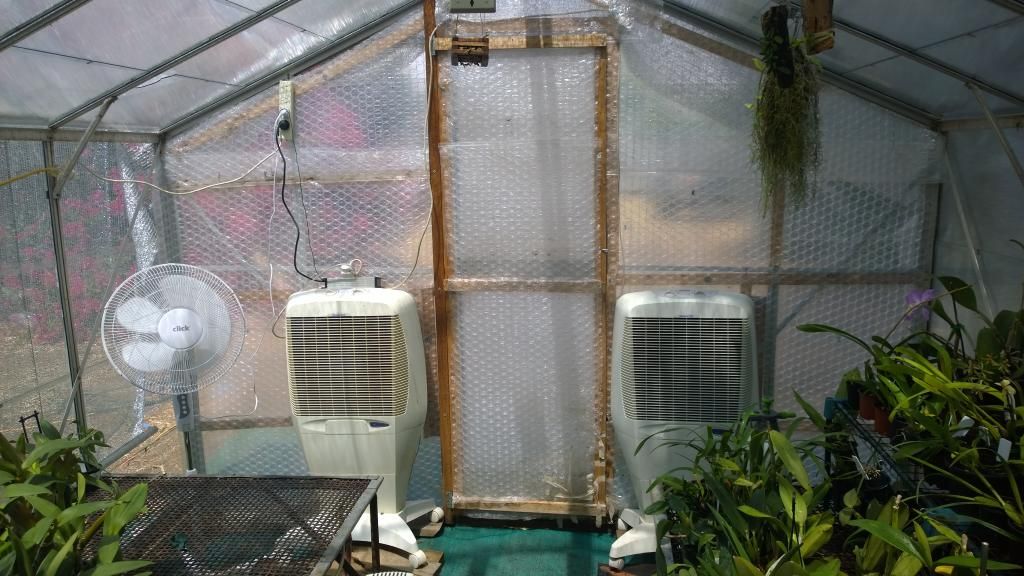
Shot from the front door. My entire collection - previously restricted to a lean-to mini greenhouse and window sills probably takes up maybe half of one side.
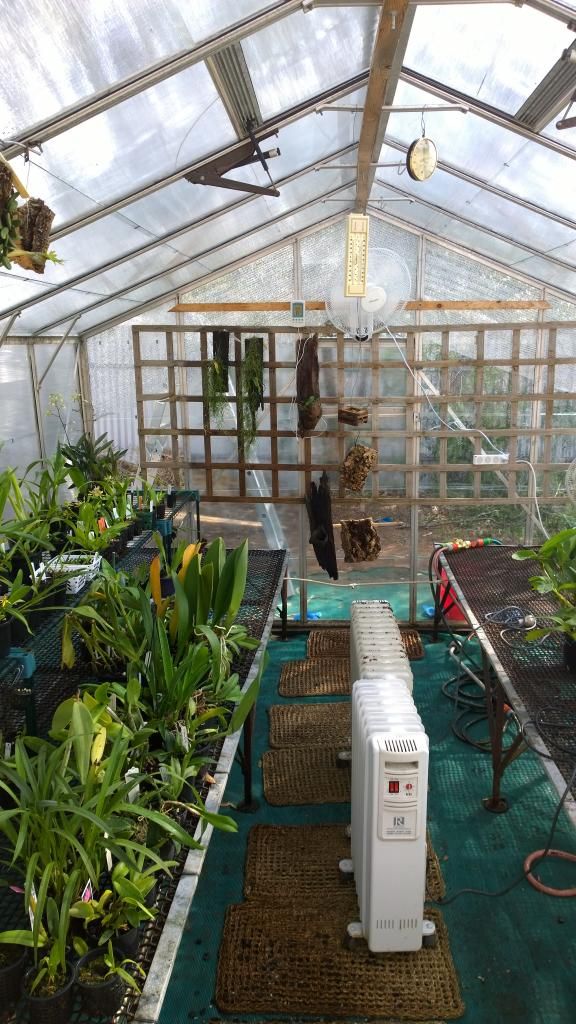
My collection looking decidedly smaller than it did previously

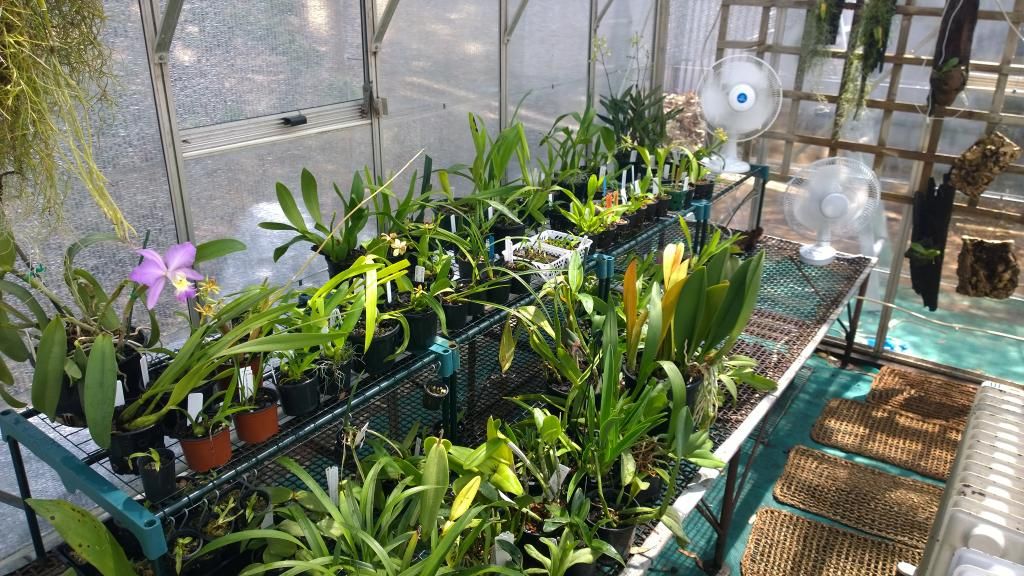
The bench on the other side is mostly empty except for some of my boyfriend's hoyas and a pair of Dendrobiums I don't know what to do with.
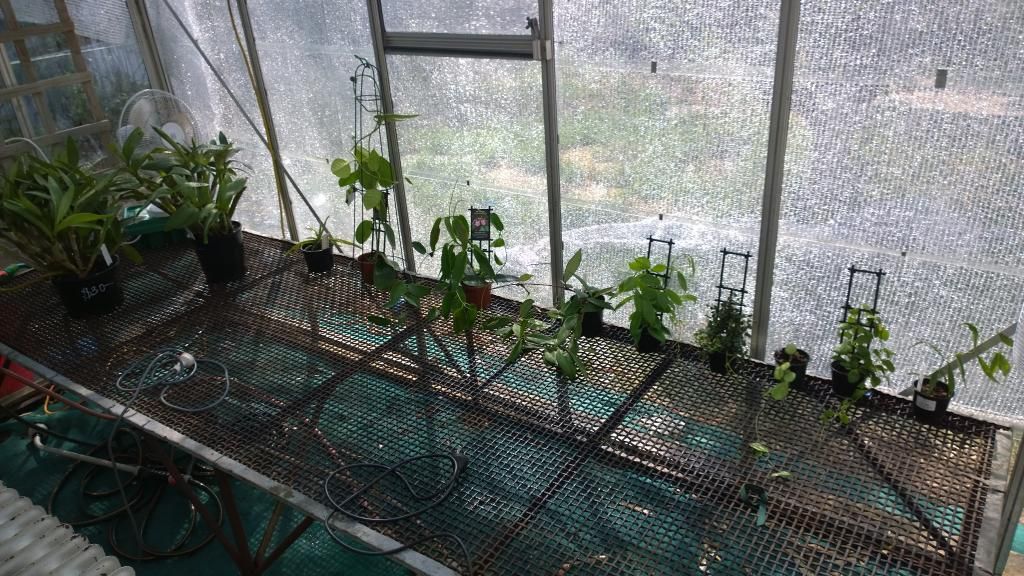
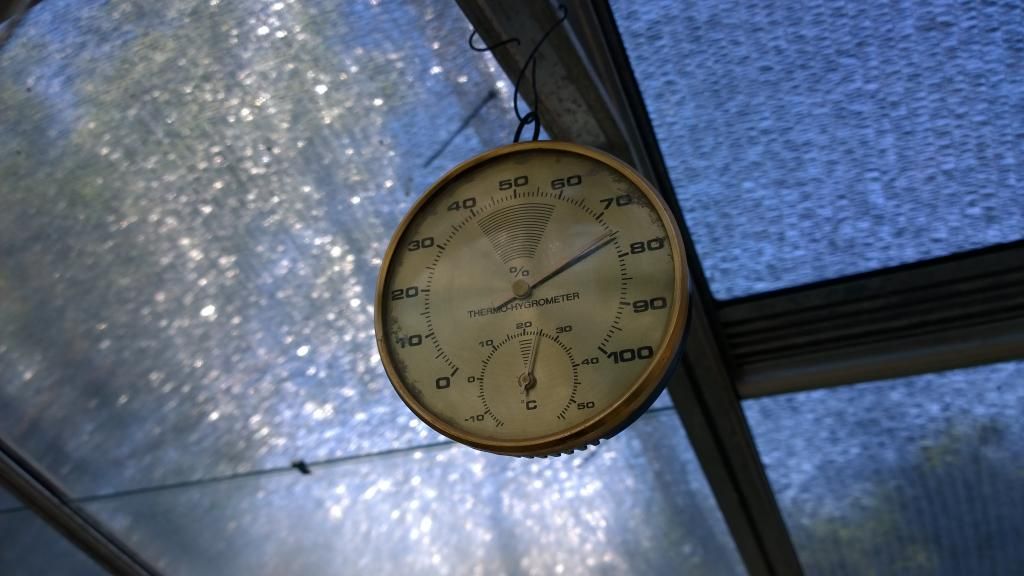
Despite being nowhere near air tight, and dealing with 45 degree weather, (113F), along with 11% outside humidity, the inside stays remarkably stable and humid, with only a simple set of misters running from sunrise to sunset under the benches.
Long shot showing the back of the glasshouse. Mounts and a nice big wall-mounted fan. Air movement in there is excellent.
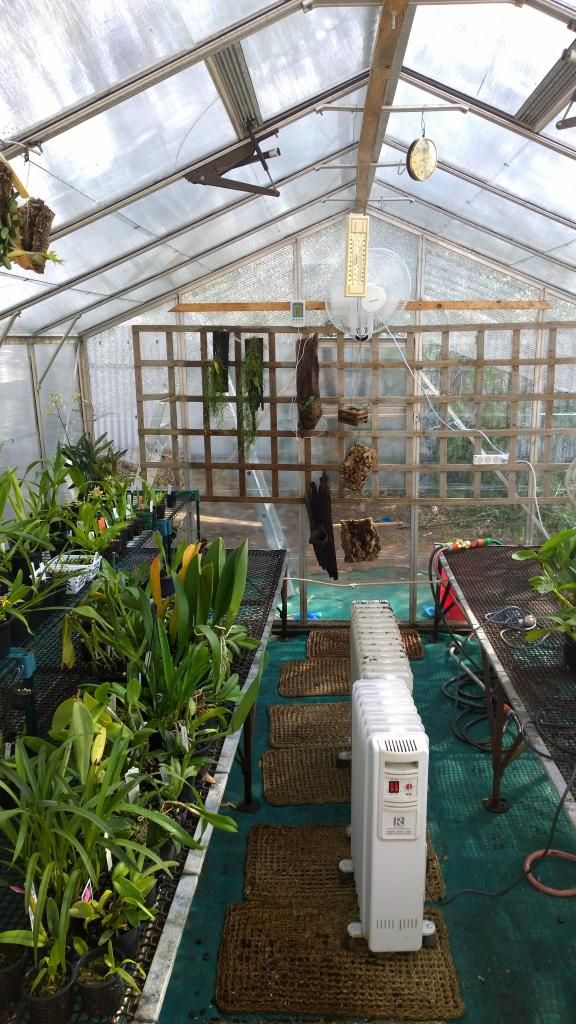
After all is said and done, I'm happy with the result. It's by no means finished - I want a good, solid covering of gravel for the floor, as well as a Hydrofogger for more precise humidity control. I may have to cut back some trees also - it gets periodic shade during the day, 10am 'till 11am is lightly shaded, then full sun 'till about 2pm, followed by fairly heavy dappled shade until 4pm or so where it receives the last light of the day.
Having only 50% shade cloth should help, but the vast majority of my plants like high light, (Encyclia, Prosthechea, Anacheilium, various Catt's and Brassavolas). Time will tell if I'm going to have to do some tree pruning to increase light levels I guess.
To close, a few tips I picked up if you ever need to move something similar.
1 - No matter how hot, cranky and sunburned you are, DO NOT have a fight with the person helping you half way through. This proved very unproductive for all involved. And believe me, you will want to scream at everyone for most of the process.
2 - Invest in good gloves, I found I couldn't install the glazing clips whilst in gloves, but for handling the glass they're a must, unless you enjoy slicing your hands open on a half-hourly basis.
3 - Before you take it down, take LOTS of photos. Every joint, every corner, especially the ground corners. You won't realise how important this is until you're in your backyard staring at a pile of jumbled aluminium.
4 - We broke 2 pieces of glass through the entire process. Always bank on breaking at least a few. Usually oddly shaped corner/top pieces that will be harder to replace.
5 - Finally, if you're in a hot, desert climate like me, don't leave glass in the sun if you plan on washing it. Splashing cold water over scorching hot glass is a great way to shatter it in your hands. Also, don't forget a hat and sunscreen. I did, and now I look like a beetroot.
.


 Linear Mode


